This was by far the messiest project! After constructing our forms out of food boxes, egg cartons and duct tape we made our paste. One part flour, one part water and a glob or two of Elmer’s glue. This whole process transformed me into a kid again. Dipping strips of paper into that gooey concoction and pasting them onto our creations brought me back to grade school art class. I think I was picking paste out of my hair and off of my arms for the rest of the day. After the Papier Mâché dried we gave our sculptures life with paint. Ella is very happy with her robot, that she has named “Mickey.”
Art Camp Day 4: Batik
Batik is a method of decorating a fabric using a manual wax-resist dyeing technique. Batik or fabrics with the traditional batik patterns are found in such places as Indonesia, Malaysia, China and India.
Batik is something I have never done before, but I thought for “Mommy Art Camp” we’d give it a go. I was not armed with the proper tools. It would have been helpful to have a Tjanting, a tool used to draw precise lines of wax onto the material by allowing a small amount of wax to flow from an attached reservoir. We would have to do without.
I melted the batik wax in my handy dandy candle maker. We then dipped some bristle brushes into the wax and proceeded to paint the fabric. We had to work quickly, hot drippy wax doesn’t stay hot and drippy for long. Creating our pattern took quite some time. By the end I was exhausted, but pleased with our work and we had tons of fun. After our pattern was done we dyed the fabric in our washing machine according to the RIT dye instructions, then took it outside for a tie-dye lesson from Dad.
I have yet to get the wax off of the fabric. If the 105º day today doesn’t do it for me, I plan on sticking it into a pot of boiling water. The wax should come right off and just float to the top of the pot.
Art Camp Day 3: Project Runway
Yesterday we found ourselves at the craft store shopping for fabric dye for a project later in the week when Ella spotted some square pieces of quilting fabric. They came home with us and last night, instead of TV she started hand stitching wallets, purses, and business card holders. MZ Wallace watch out — we have a future star here. Even though we started out the day planning for our Papier Mâché project, we quickly switched to sewing. I dug my old Singer out of the garage, gave her a few lessons and she was off.
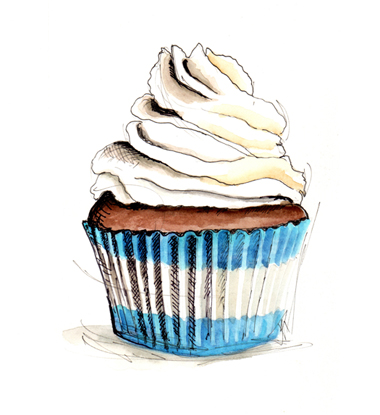
She made 3 pillows (one for her bear), a couple of purses and a wallet. While I was making sure she wasn’t loosing pins on the floor it dawned on me. “I make pincushions. WHY AREN’T WE USING ONE?” So I ran downstairs and got one of my cupcakes. It made all the difference.
Art Camp Day 2: Charcoal & Negative Space
 What a fun mess this was! Learning how to draw with an eraser helped Ella to visualize the negative space of drawing. We went outside and covered an entire piece of paper with charcoal. Outside is key! This was very messy. Then we each chose an image and used an eraser to draw with. This showed Ella the different shades of light in a drawing, not just the different shades of dark. Our results were by no means masterpieces, but we had fun. Now it’s off to the shower with her and time to hose down the kitchen.
Art Camp Day 1: Candle Making
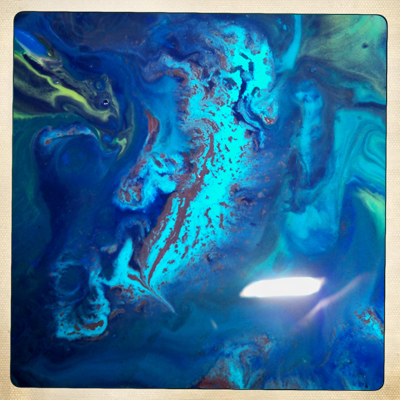
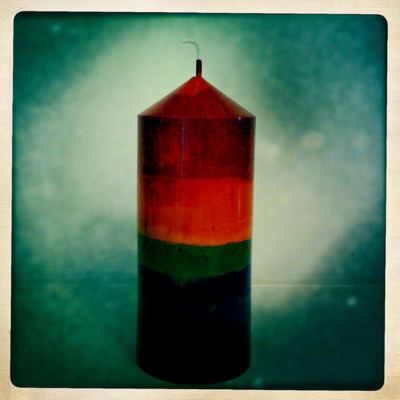
Ever wonder what you can do with all those broken and barely used old crayons? Recycle them into a candle. We started the day by going on a reconnaissance mission digging through old boxes of art supplies we found a bounty of old Crayola Crayons. We then went through the painstaking process of peeling all the labels off. This took a while, I ruined a nail, and we needed to take a break for food. But after we were finished we sorted them into colors. Illustrated here using my cool iPhone app hipstamatic.
We melted them by color in this candle making machine I have (quite frankly, can’t remember where or when I got it.) We dripped the melted wax into a mold. I stuck the mold into the freezer between color drips. Apparently crayons can stay liquidy for a long time. After a few pours…voila. Instant cool candle. We used every crayon except the gold one, which Ella wanted to keep and not melt down. Today, it was her favorite color.
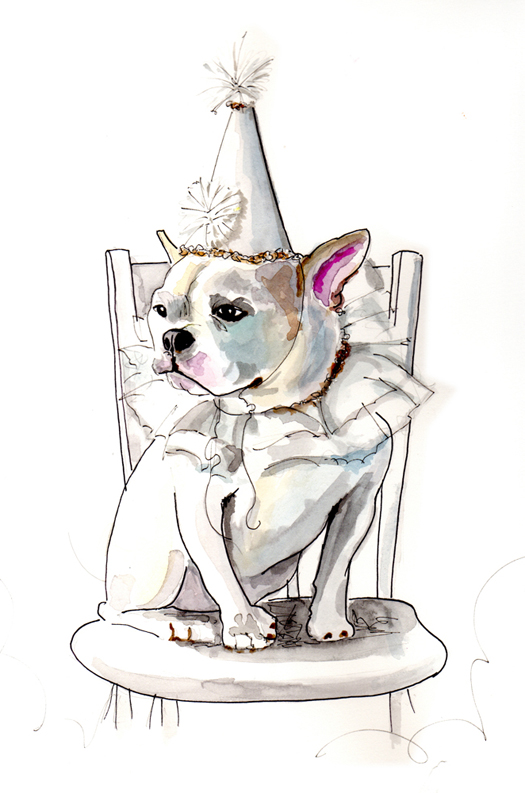
Happy Birthday Fido!
Besides having fun and blogging about various artsy things, the “main” purpose of this blog is to showcase my custom illustrations. It may be of your pet or a favorite thing. The one above is of an o-so-cute dog celebrating his birthday. But whatever it is your interested in… I will create for you an original watercolor and ink sketch. Just send me a picture through my shop or let me know what it is you would like me to illustrate for you. Created on Hot Press Arches watercolor paper which is made in France (o-la-la), my sketches make the perfect gift.
Next Week… Art Camp
 Hold your horses people! Next week is “Mommy Art Camp” week. My daughter, Ella wanted to attend art camp this summer. I figured, hey, I’m an artist, why go to art camp when we can have our very own art camp right here. Not only will it be fun (mommy/daughter time) but I can also save myself $300. Win, win! So, I have a week long list of activities and art projects to get through! Stay tuned! I’ll let you know how it goes.
Pizza Anyone?
 My kids will only eat cheese pizza. No toppings. So, when there are left overs I top them with whatever and reheat. This day I happen to have an abundance of mushrooms, a favorite pizza topping if I do say so. It looked so good (yeah, I was hungry) I took a photo of it. A few weeks later I sketched that photo. Yum!
This is 9” x 12” illustration is available for purchase. Just click on the button below and it will take you to my etsy shop.
